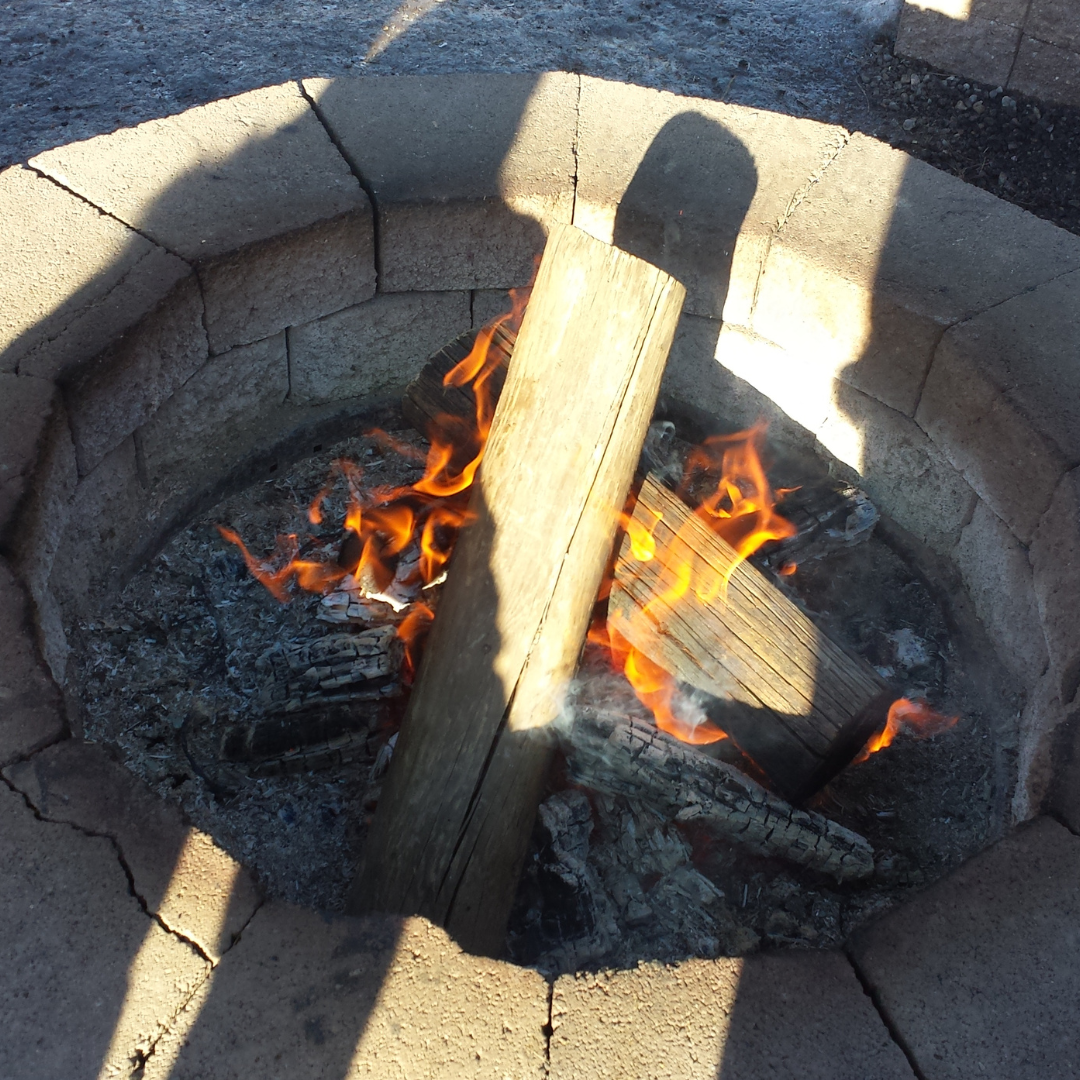
Build A DIY Fire Pit: A Comprehensive DIY Guide On Building Your Own Simple Fire Pit
Share
Does building your own fire pit sound like a good idea? This detailed guide will take you through each step, from measuring out the perfect circle to laying the foundation and ensuring each brick or block is perfectly placed. Let's dive into the what, why, and how of constructing a round fire pit with bricks or retaining blocks.
Tools and Materials:
Tools:
- Shovel: For digging and leveling the area.
- Tape Measure: Essential for accurate dimensions.
- String or Rope: Used for marking the circumference.
- Stakes: To secure the string or rope in place. Metal stakes or reinforcing rod will be easiest.
- Spirit Level: Ensures both the base and stacked layers are level.
- Rubber Mallet: Used for tapping bricks or blocks into place.
- Work Gloves and Safety Glasses: Protect your hands and eyes during construction.
Materials:
- Bricks or Retaining Blocks: Opt for fire-resistant materials. Otherwise second hand dry-cast bricks or blocks will work but may crack with heat over time.
- Fire-Resistant Adhesive: Ensures a strong bond between layers.
- Gravel or Sand: Creates a stable foundation.
Step-by-Step Construction:
Step 1: Measure and Mark the Circle
Using the tape measure, determine the desired diameter of your fire pit (1-1.5m will be plenty). Attach one end of the string or rope to a stake and secure the other end at the center point. Walk around the center, marking the circumference with stakes or if you have it, spray paint.
Step 2: Dig the Foundation
With the marked circle as your guide, use the shovel to dig a shallow pit within the circumference. Aim for a depth of about 200mm, ensuring a level base.
Step 3: Level the Foundation
Place the spirit level in various spots within the dug-out area to ensure it is reasonably level.
Step 4: Add Gravel or Sand
Fill the dug-out area with gravel or sand, leveling it with the shovel and checking with the spirit level in multiple directions. The foundation material provides stability and ensures even weight distribution and makes it easy to get level.
Step 5: Set the First Layer
Place the first layer of bricks or retaining blocks around the marked circle, ensuring they are snug against each other. Use the spirit level to check for levelness, adjusting the placement as necessary. This initial layer is crucial for the overall stability of your fire pit. If using retainer block for your construction it will have a hook lip that will need to be knocked off with a hammer so that each layer sits flat but not staggered.
Step 6: Apply Adhesive
Apply fire-resistant adhesive to the bottom of each brick or block as you stack them. Use the rubber mallet to tap them into place, ensuring a secure fit. Continue checking for levelness with the spirit level.
Step 7: Continue Stacking
Repeat the process, stacking additional layers of bricks or blocks, applying adhesive between each layer. Use what is called Stretcher-Bond laying method for the best strength. Ensure the entire structure maintains a round shape and is level at every stage. Once again if using retainer block for your construction it will have a hook lip that will need to be knocked off each block with a hammer so that each layer sits flat but not staggered.
Step 8: Optional Finishing Touches
For a polished finish, cap the top layer with flat stones, securing them with adhesive.
Step 9: Allow for Cure Time
Allow the adhesive to cure for the recommended time before lighting your first fire. This ensures a strong and secure bond.
Drawbacks to Consider:
While your DIY fire pit can be a source of pride, be aware of potential drawbacks:
-
Cracking: Regularly inspect for any cracks in the bricks and plan for occasional maintenance.
-
Adhesive Limitations: Understand the limits of fire-resistant adhesive and be prepared for repairs.
-
Smoke Emission: Consider wind direction and placement to minimise smoke impact as traditional fire pits such as this will smoke no matter what due to the lack of adequate oxygen supply to all stages of the combustion and low efficiency.
Conclusion:
Building a round fire pit with bricks or retaining blocks requires meticulous planning and execution. Armed with the right tools, materials, and detailed instructions, your outdoor retreat will soon be adorned with the warm glow of a beautifully crafted fire pit. Enjoy the crackling flames and starlit nights in your very own masterpiece!
Alternatively - I'd like to introduce you to a superior option which you will nonetheless be very proud to own and the envy of your friends. Our premium architecturally designed smokeless fire pits. Click here to find out more.
